This traditional braise is so simple and delicious, and with a little planning, takes very little effort. It’s fun to cook because you can get creative with the ingredients and flavours. The resulting stew is always delicious hearty, nutritious, and plentiful. With a big enough pot, a family could scoop out a bowlful from the fridge any time. I swear it tastes better the longer it sits!
Here’s how:
Chop the mirepoix (onions, celery, carrots). Sear the outside of the meat in hot butter -no blackening!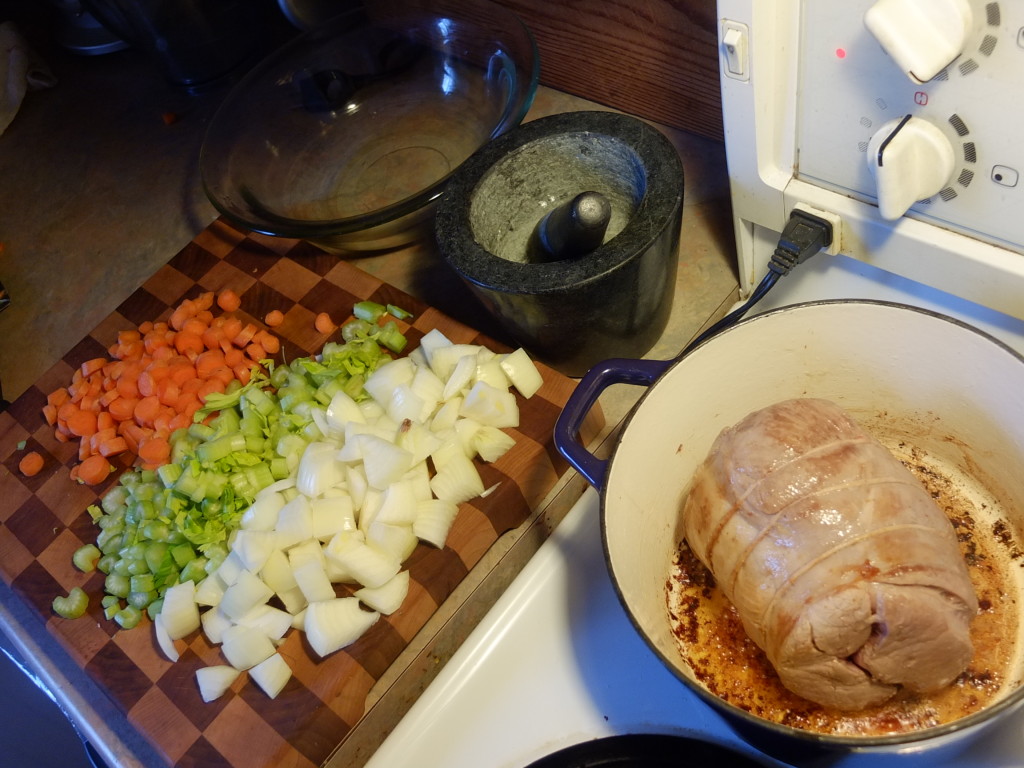
Set meat aside to rest. Fry mirepoix in leftover butter until lightly browned.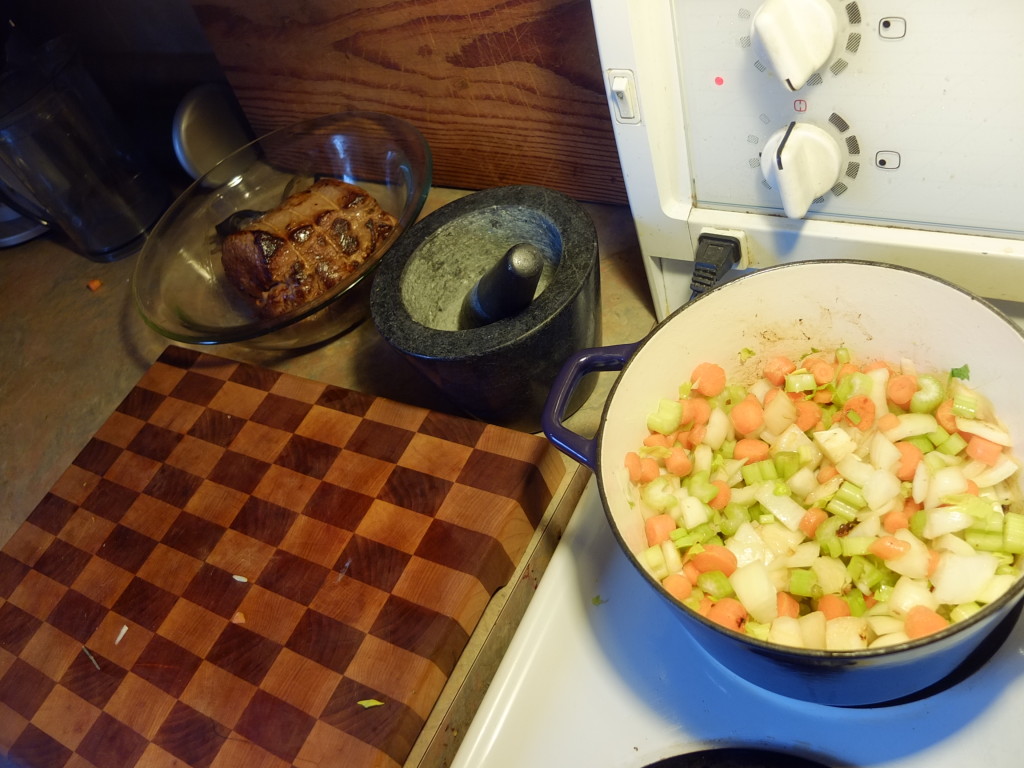
Add yummy stuff to the mirepoix. Whatever goes! Endless combinations! Mix it all together in the pot. 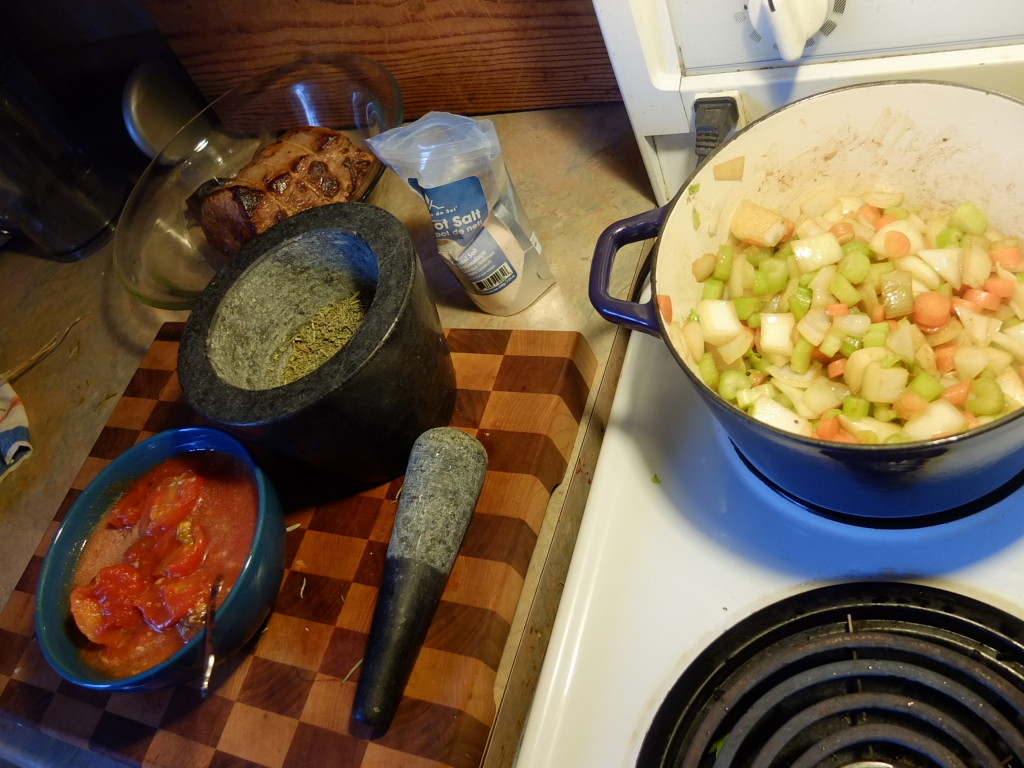
Place meat on top, including all it’s juices from the resting bowl.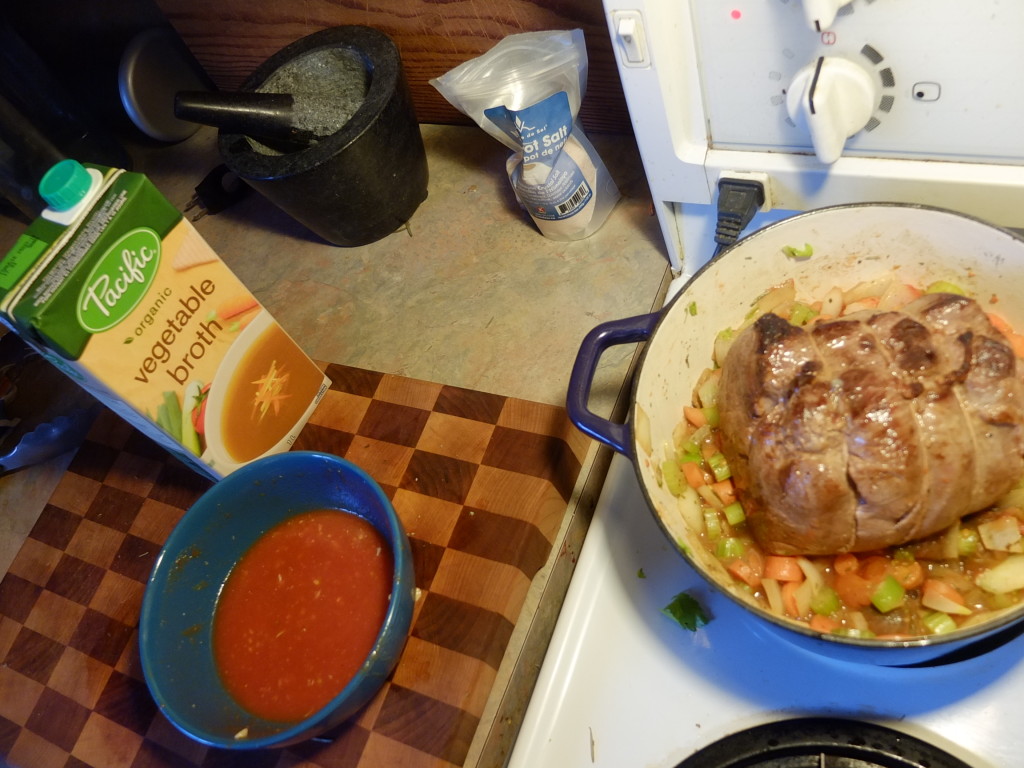
Fill up with liquid to halfway up the meat. Bring to a simmer.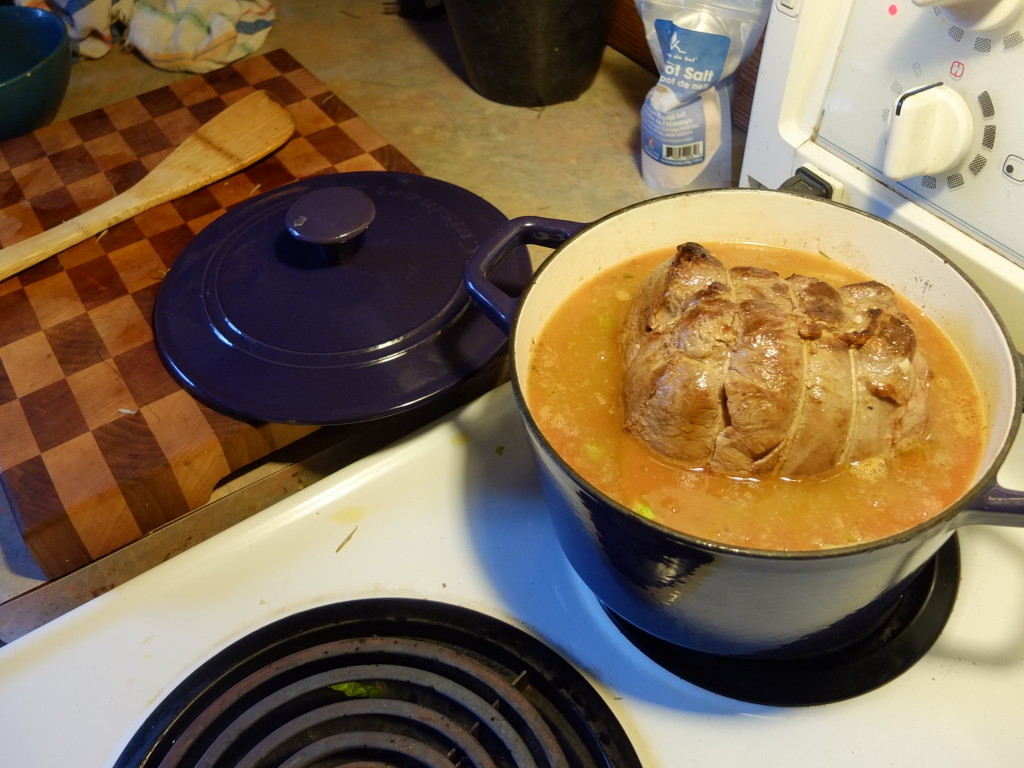
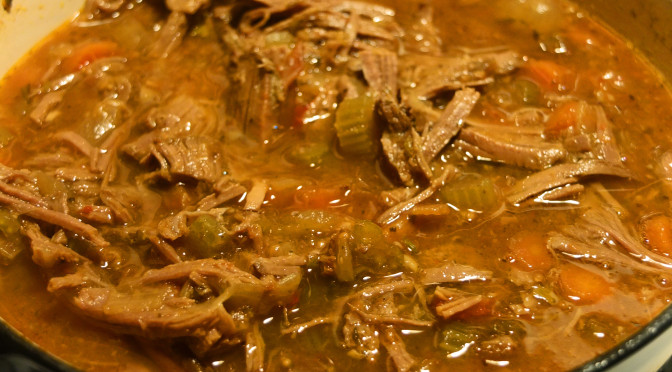
Turn down to med-low. Cover tightly and simmer for 6-7 hours either on the stovetop or in the oven. 
Remove any strings. Roughly chop up the meat. Salt and pepper to taste.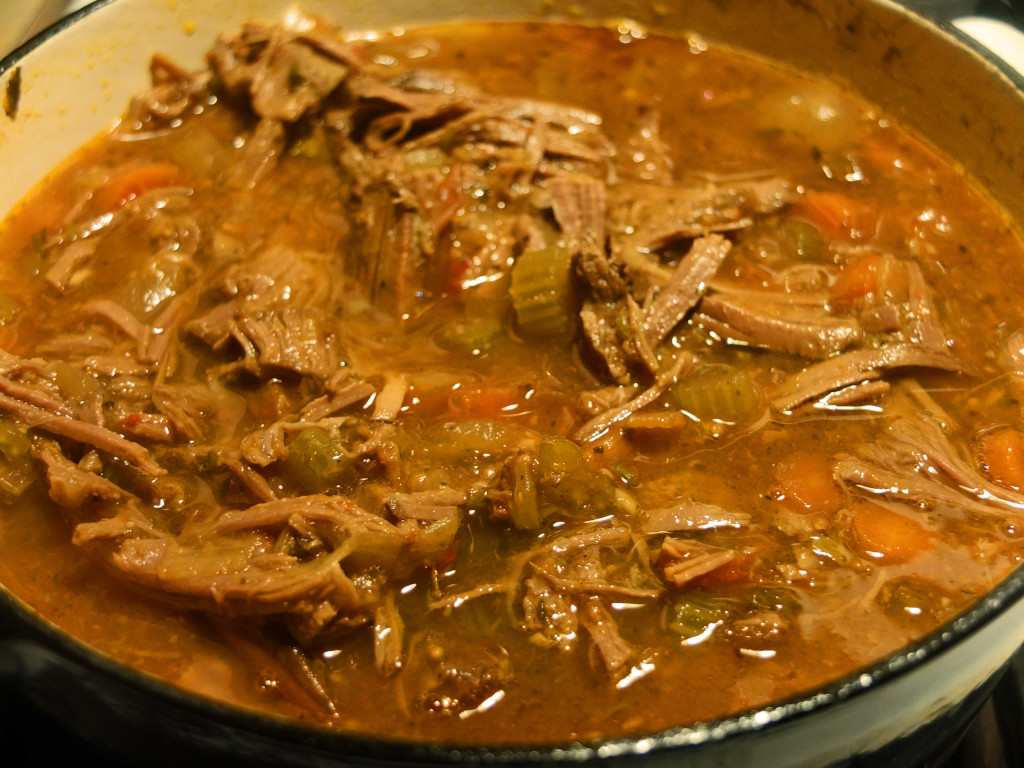
Notes about this dish:
- Source happy meat. Local, organic, grass-fed energy is better for everything, including flavour. The savings balance out, especially because the low and slow cooking will tenderize any tough (cheaper) cut.
- The meat can be salted generously for a minimum of 5 days, covered in the fridge. The longer it salts, the less salty the result! Chemistry! (But salting is not necessary. In these photos, I’m braising an unsalted roast of venison, which means salt is added last. )
- Always let meat stand to get room temperature before cooking.
- If you’re using a cut with lots of fat, you won’t need as much butter as I started with here. (Deer is particularly lean)
- Don’t pierce the meat! Use a pair of tongs to move the meat around.
- Choose your flavour combinations out of whatever you have around the kitchen….consulting The Flavor Bible accordingly if you want. (In these photos, I used some leftover stewed tomatoes, thawed frozen garden tomatoes, garlic, dried rosemary and oregano. A bay leaf.)
- You can use literally any liquid! Wine, beer, water, tea, broth, etc. Pair the liquid with your flavours accordingly. (I used vegetable broth and tomato juice from the thaw)
- Add diced potatoes in the last 2 hours of cooking.
- Try not to lift the lid too often throughout the cooking process, or you’ll lose precious moisture.
Here’s a nifty flavour combination chart if you don’t have The Flavor Bible 